- Press the Settings button on your remote control
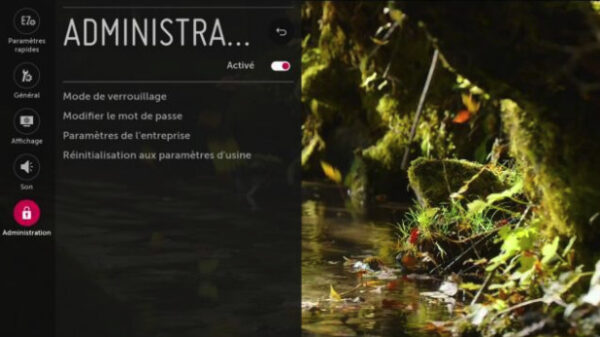
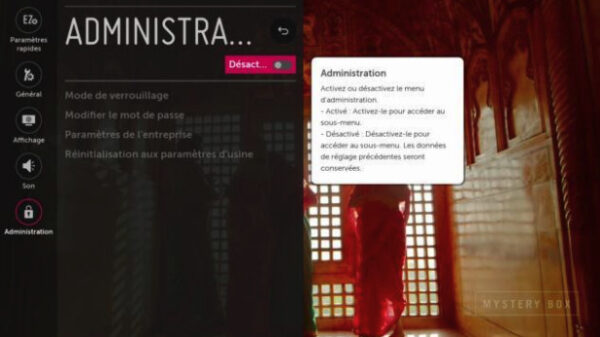
- If any options are grayed out / inaccessible, select the disabled button and press OK.
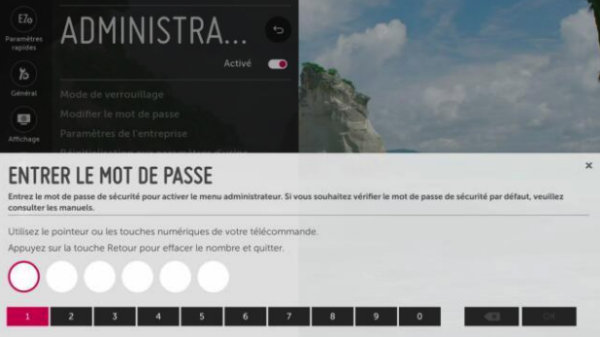
- You’ll be prompted for a password. Enter “000000” if you’ve never changed it , otherwise enter your password.
- Then select Reset to factory settings and press OK.
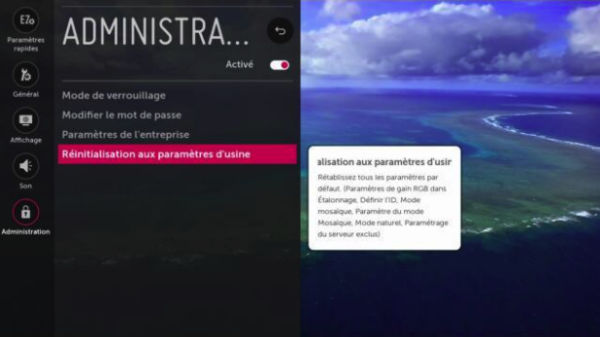
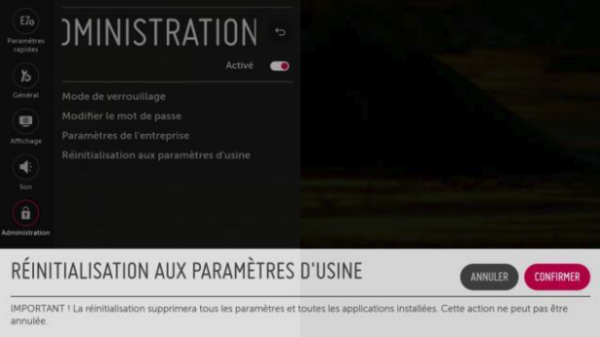
- A confirmation message appears, press CONFIRM
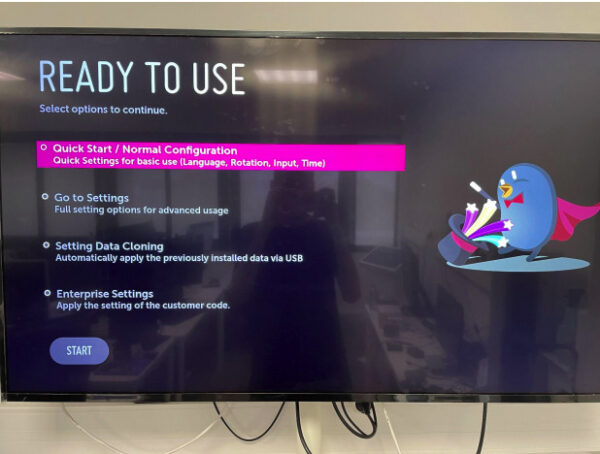
- Select Quick Start then press START
On the first line, select the French language, then click SAVE to confirm. On the last line Stop for no reception select Off
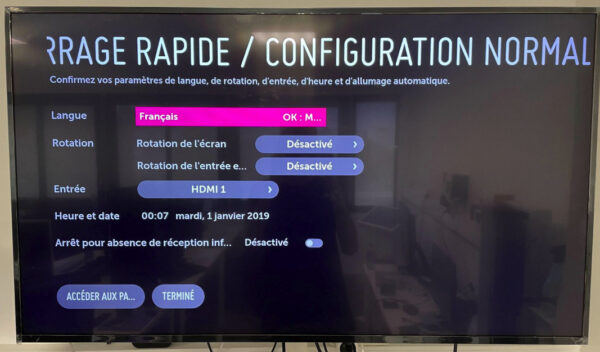
Click on FINISH. Then go to Options, General tab, On, and make sure that Off for lack of infrared reception is deactivated.
Quick Start+ mode also deactivated
Firmware configuration
- Go to the General menu

- Select System information, then press OK
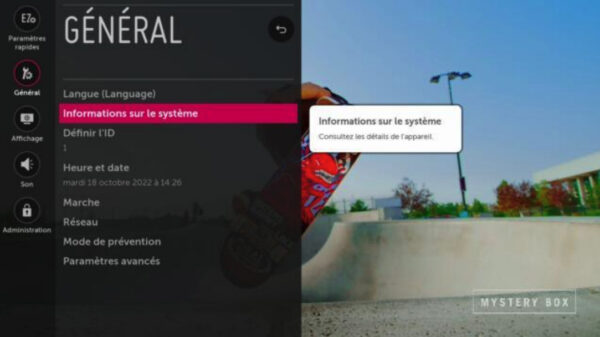
Make sure webOS version is at least 3.2
To do this, start by checking that a firmware with a webOS version of at least 3.2 is available for your device, by following the instructions below. Go to the following page (you’ll need an LG account): https: //webossignage.developer.lge.com/firmware/firmware-download/downloading-firmware/
Search the table (by
Model name
) by entering the model name of your TV.
A
e careful to enter only the orange part, as shown on the page.

Use the number in front of the orange part to find the right line if there is one. several. If webOS version 3.2 or higher is available, click on
download
(beware, the file is large).
To install, follow the procedure described in the link below (you’ll need a USB key). (you’ll need a USB key):
https://webossignage.developer.lge.com/firmware/firmware-update/updating-firmware/#updating-firmware
Internet connection
- Go to the general menu

- Select Network, then press OK
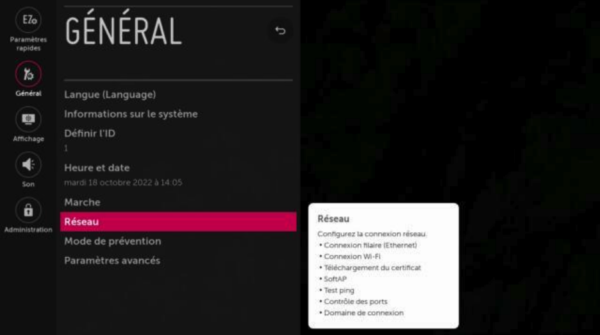
- Select Wi-Fi connection, then press OK
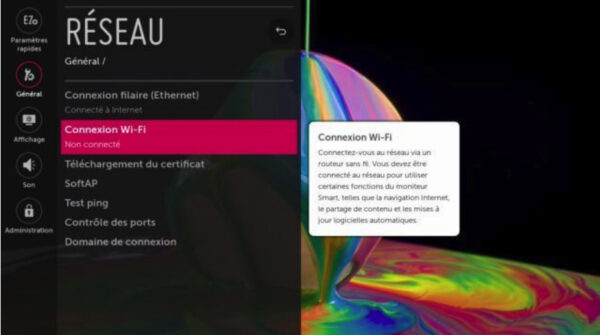
- Select your wifi access point, then press OK
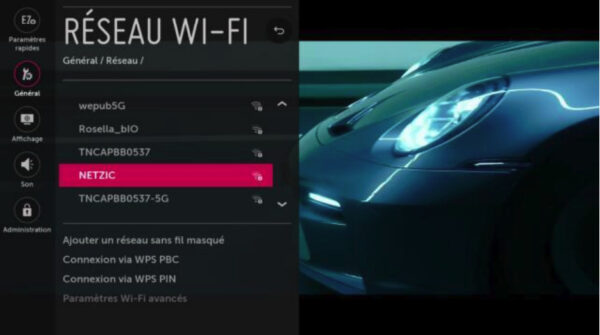
- Enter your password, select Connect and press OK.
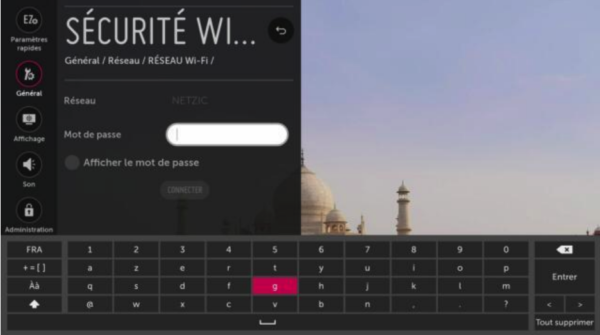
Setting date and time
- Press the Settings button
- Go to the General menu

- Select Time and Date and press OK
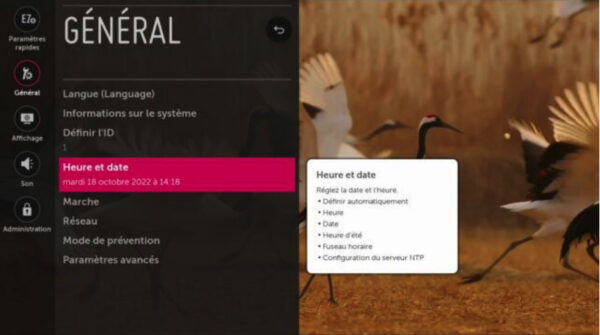
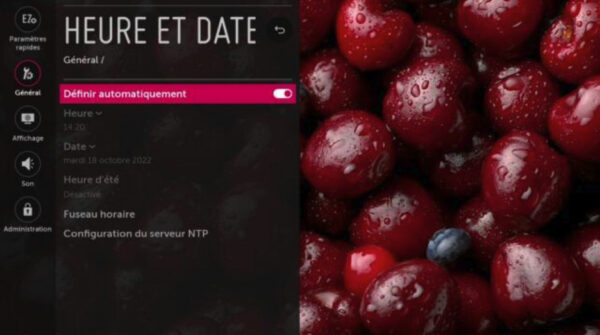
- Make sure the Automatically set option is enabled
SI server configuration
- Press the Settings button
- Select Quick settings

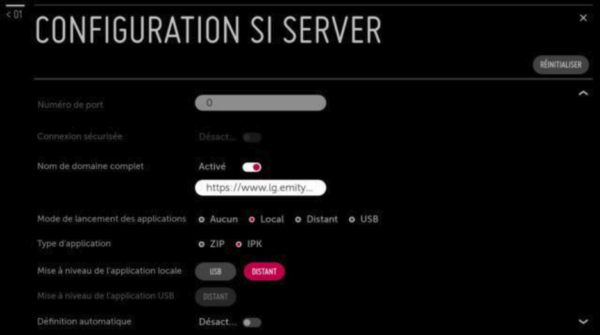
- Select SI Server configuration, then press OK
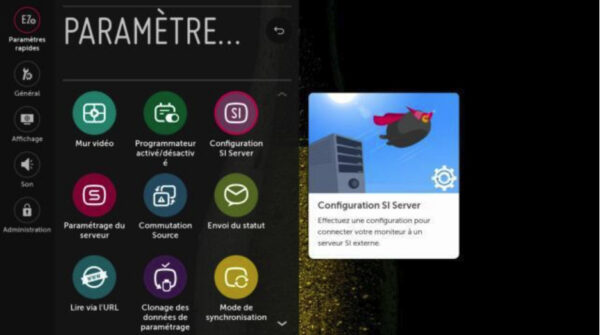
- The same applies to the selection menu that appears
- Make sure the “Full domain name” setting is enabled, and in the field, enter the following link: https://lg.emity.io/com.lg.app.signage.ipk
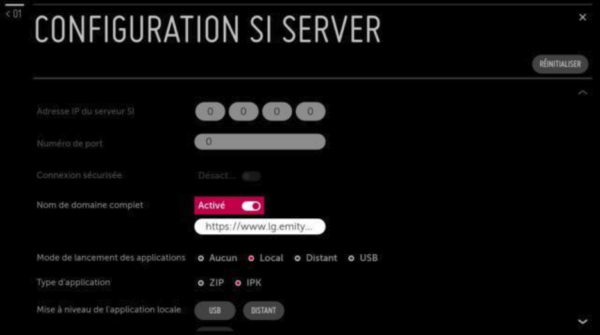
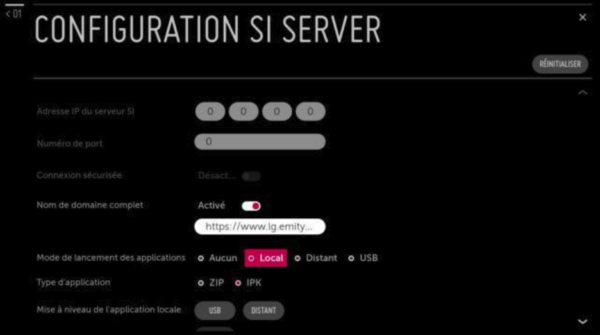
- In the Application launch mode line, select Local and press OK.
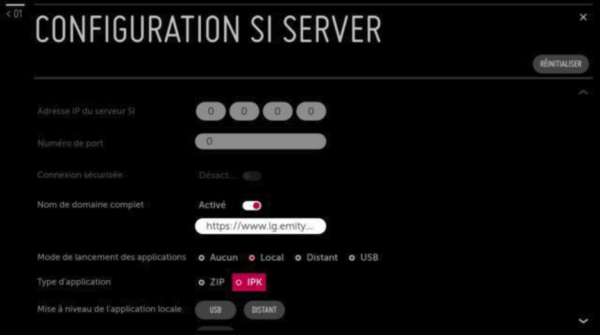
- In the Application type line, select IPK and press OK.
- In the Local application upgrade line, select Remote and press OK.
